GETTING STARTED
Step-by-Step
Painting is easy with the Bucket Buddy Clip®, but we have a few recommendations to make the process seamless.

step 1
It starts with paint
Purchase your paint in a one-gallon metal-rimmed can. If your paint comes in a a five-gallon bucket, or plastic-rimmed can, we recommend using a designated metal-rimmed can with your bucket buddy clip (pick one up at your local paint store when purchasing your paint).

step 2
Start a quarter-full
To stay nimble, we like to keep the can lightweight. Pour off 3/4 of the paint into a roller pan and cover or pour 1/4 into an empty metal rimmed paint can.. (Pro tip: with this amount of paint in the can, you’ll have an easier time carrying it around, Also it is the correct amount to keep your brush wet with paint.

step 3
Re-lid or cover
Don’t forget to re-lid the bucket you’re not painting from to keep your paint fresh. If you plan to roll walls later in your process, pour off 3/4 of the paint into your roller tray (Pro tip: mist your paint with a light layer of water, and top it with cardboard to prevent it from drying out until you’re ready).

step 3
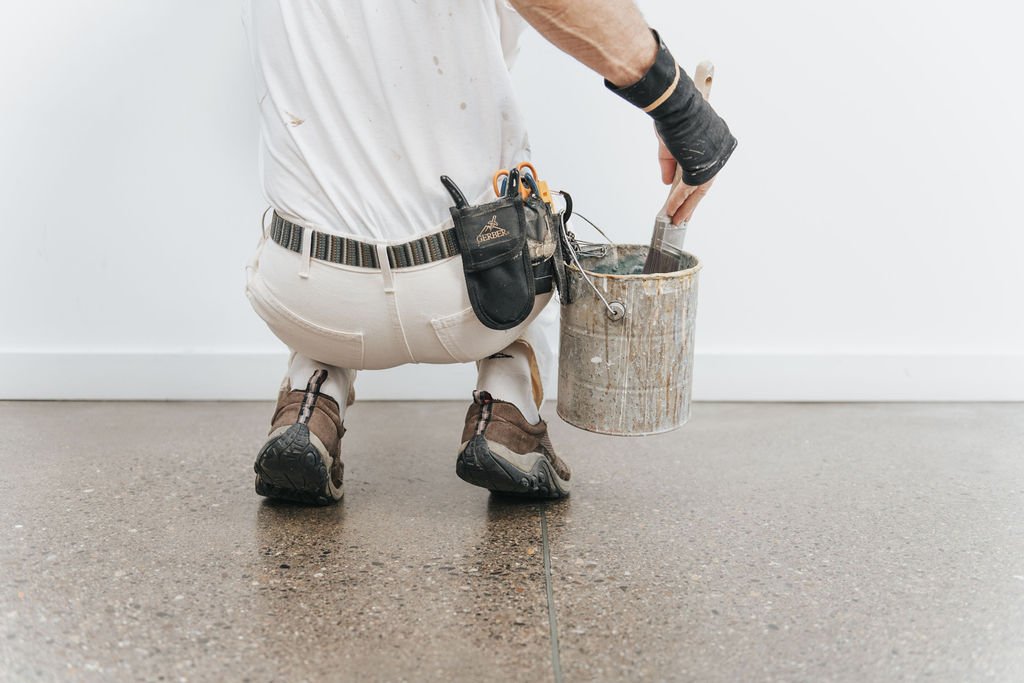
Attach the clip
Attach the Bucket Buddy Clip® to the paint can you plan to paint from, and use a carabiner to hang it from your belt (Pro tip: we like to clip it around our belt and through a belt loop at the hip for extra protection against slip along the belt).
We designed the Bucket Buddy Clip® to be the perfect height to secure the paint can handle in the same carabiner that holds the clip to offer stability and keep it out of the way (Pro tip: if the handle of the paint can is lower than the top of the hole of the clip, give the handle a squeeze to bend + stretch it to land above the open carabiner hole. This will keep the handle out of the way while unclipping when you’re done). We recommend facing the carabiner opening so that it points outward and hinges from the top, for easy clipping and unclipping throughout your painting process.
*We offer a free carabiner with every Bucket Buddy Clip®, which we selected for its ideal fit with our clip. When using your own carabiner, be sure that the size and angle of the gate opening is a good fit for your belt and the Bucket Buddy Clip® before painting.

step 4
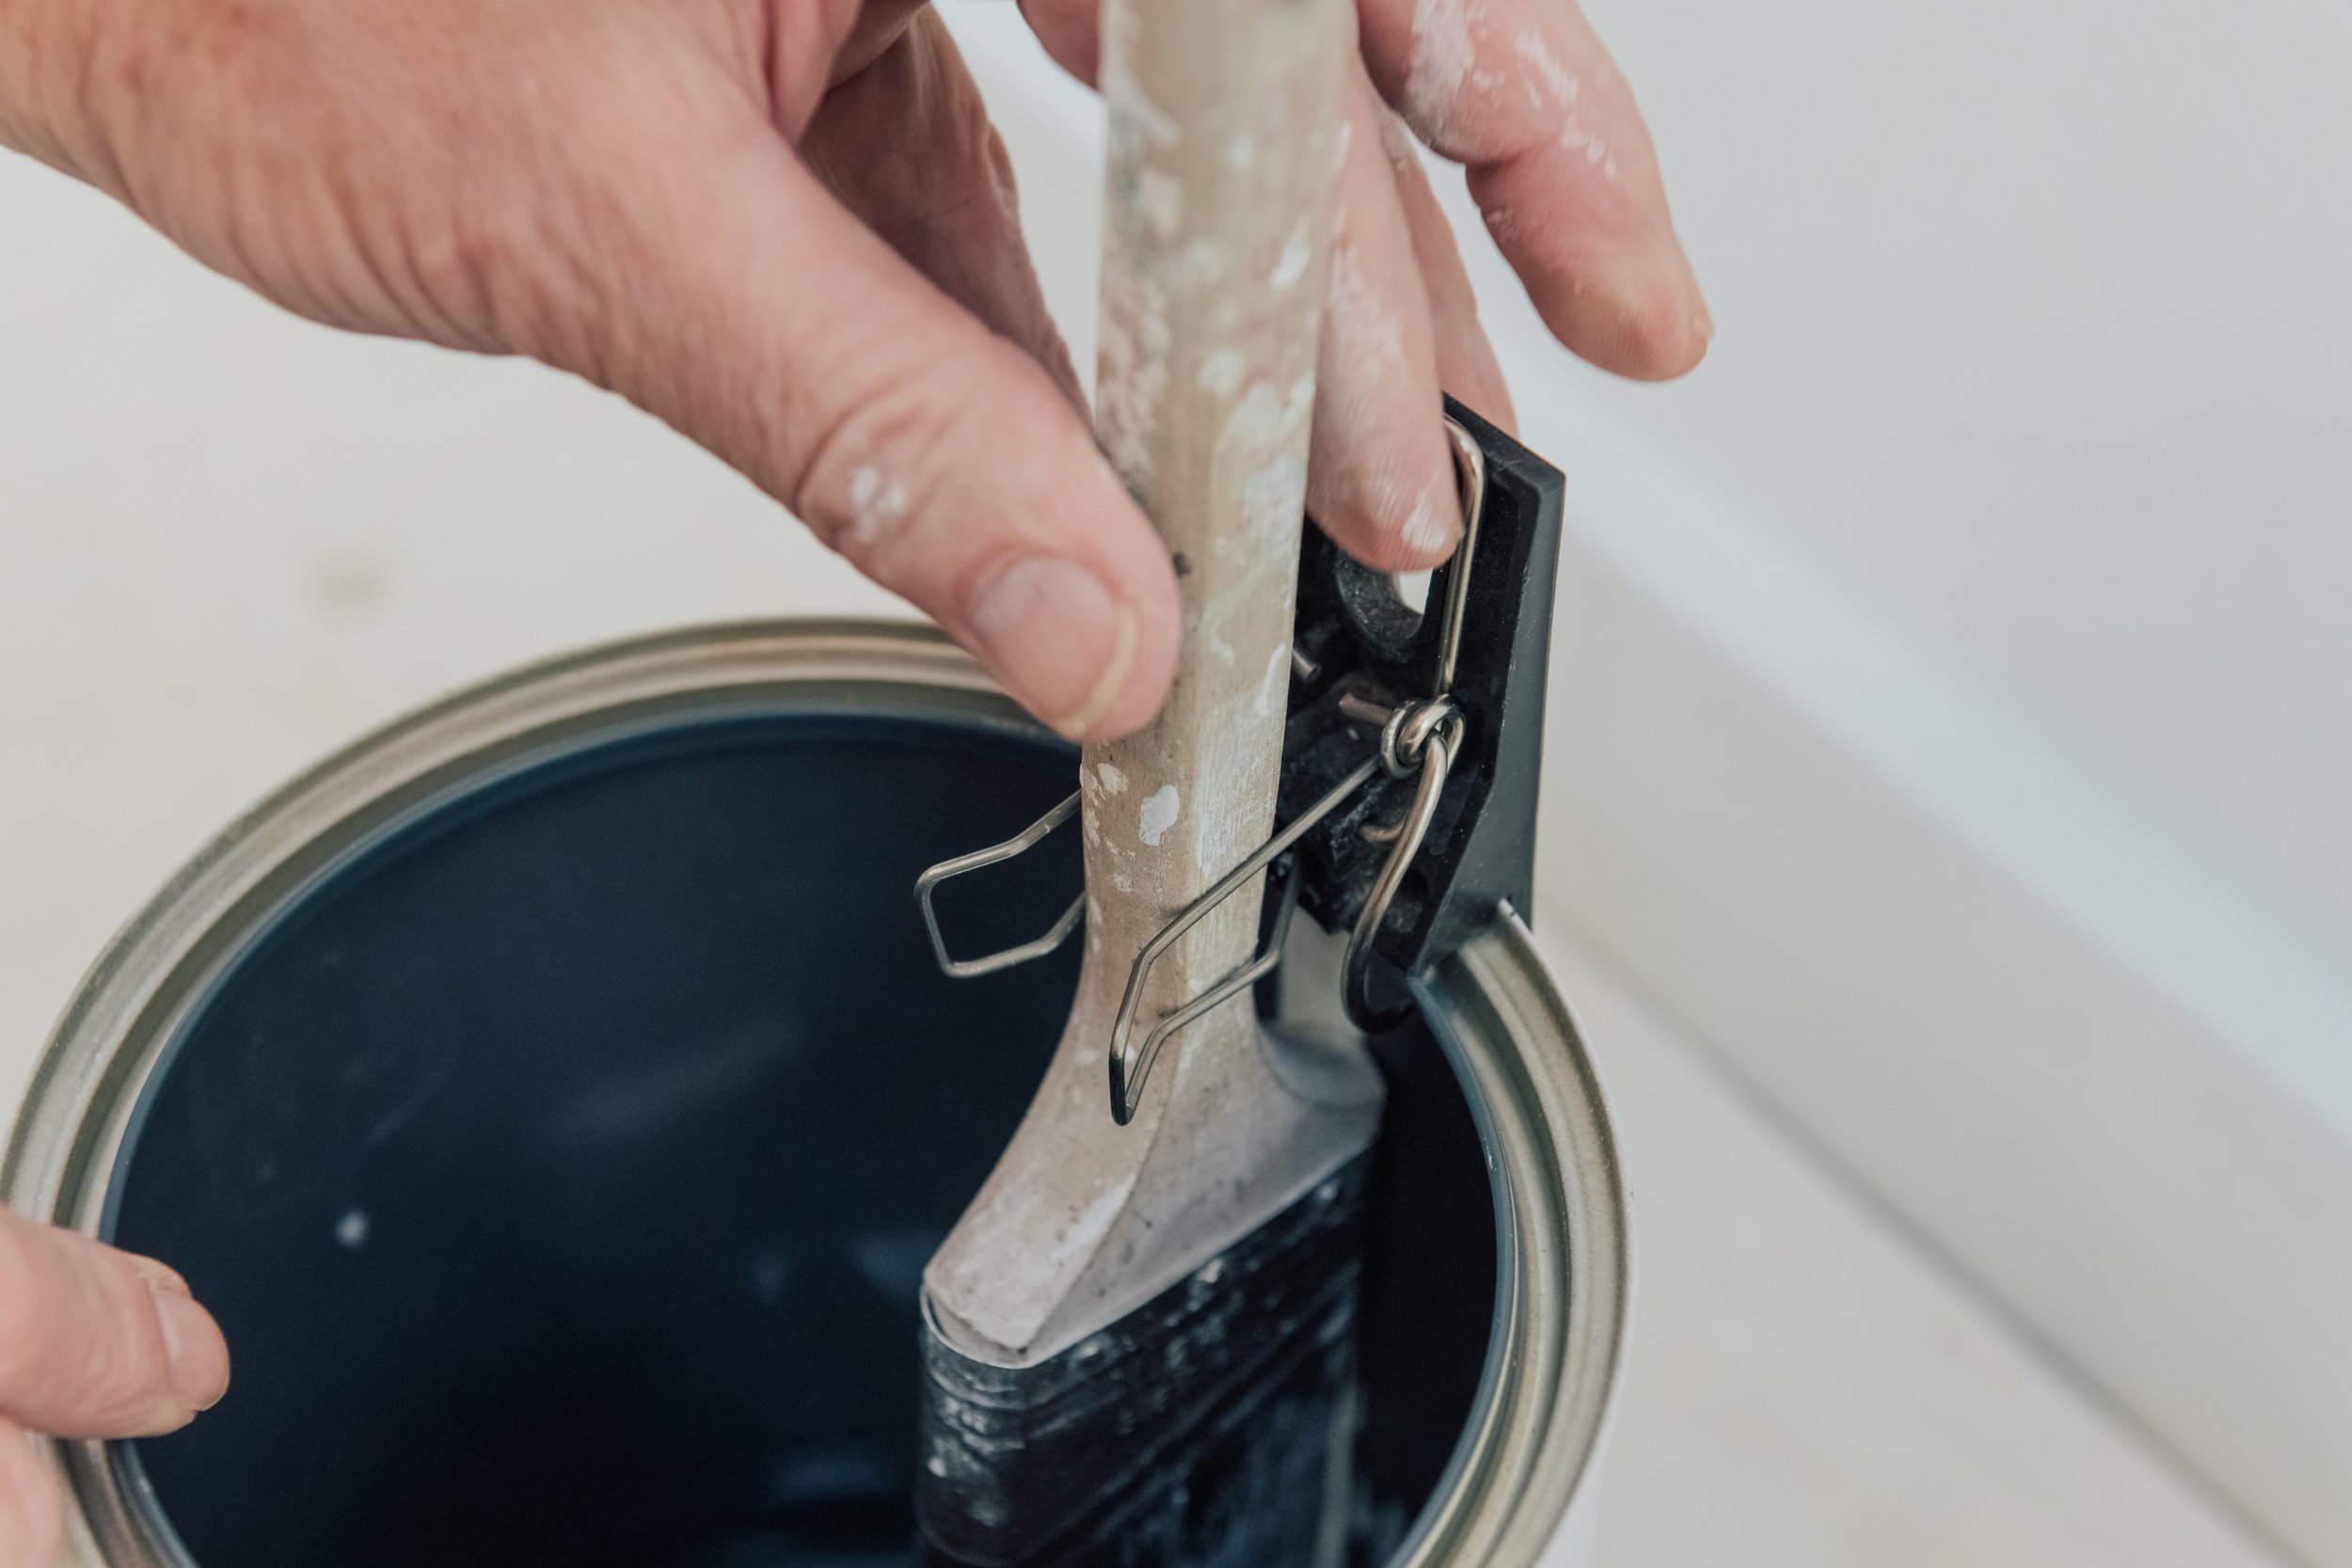
Get painting!
Don’t forget to attach and utilize the paint brush clip for less mess (Pro tip: Adjust the brush handle grip to match the depth of paint as you go to keep the tip of your brush wet and avoid the paint drying on the brush). It’s better than a magnet! The brush clip keeps your brush in place, avoids paint transfer from rim to brush handle, and handle to everything else.
having trouble?
Get in touch
We’re invested in helping our customers use the Bucket Buddy Clip® to it’s full potential. If you’re having trouble with the clip, give us a call. We’re always happy to chat & help troubleshoot so that you’ll agree - Bucket Buddy Clip® offers a game changing experience.
(406) 570-6912
info@bucketbuddyclip.com